Connecting to SQL Server
Steps
Please follow the steps below to connect to a SQL Server data source.
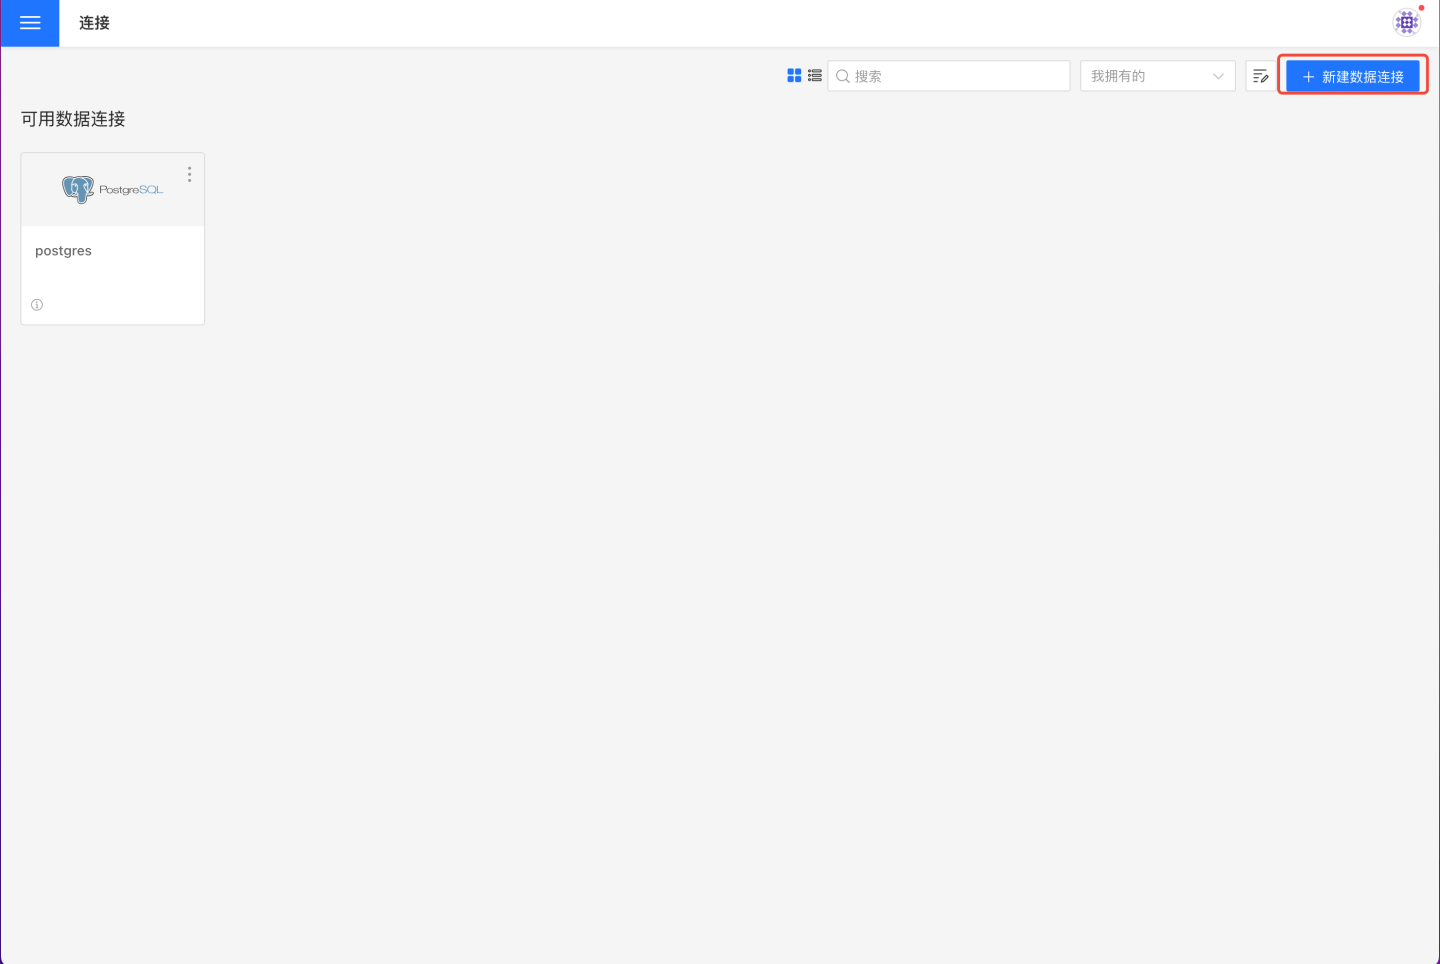
Click "New Data Connection" in the upper right corner of the data connection page.
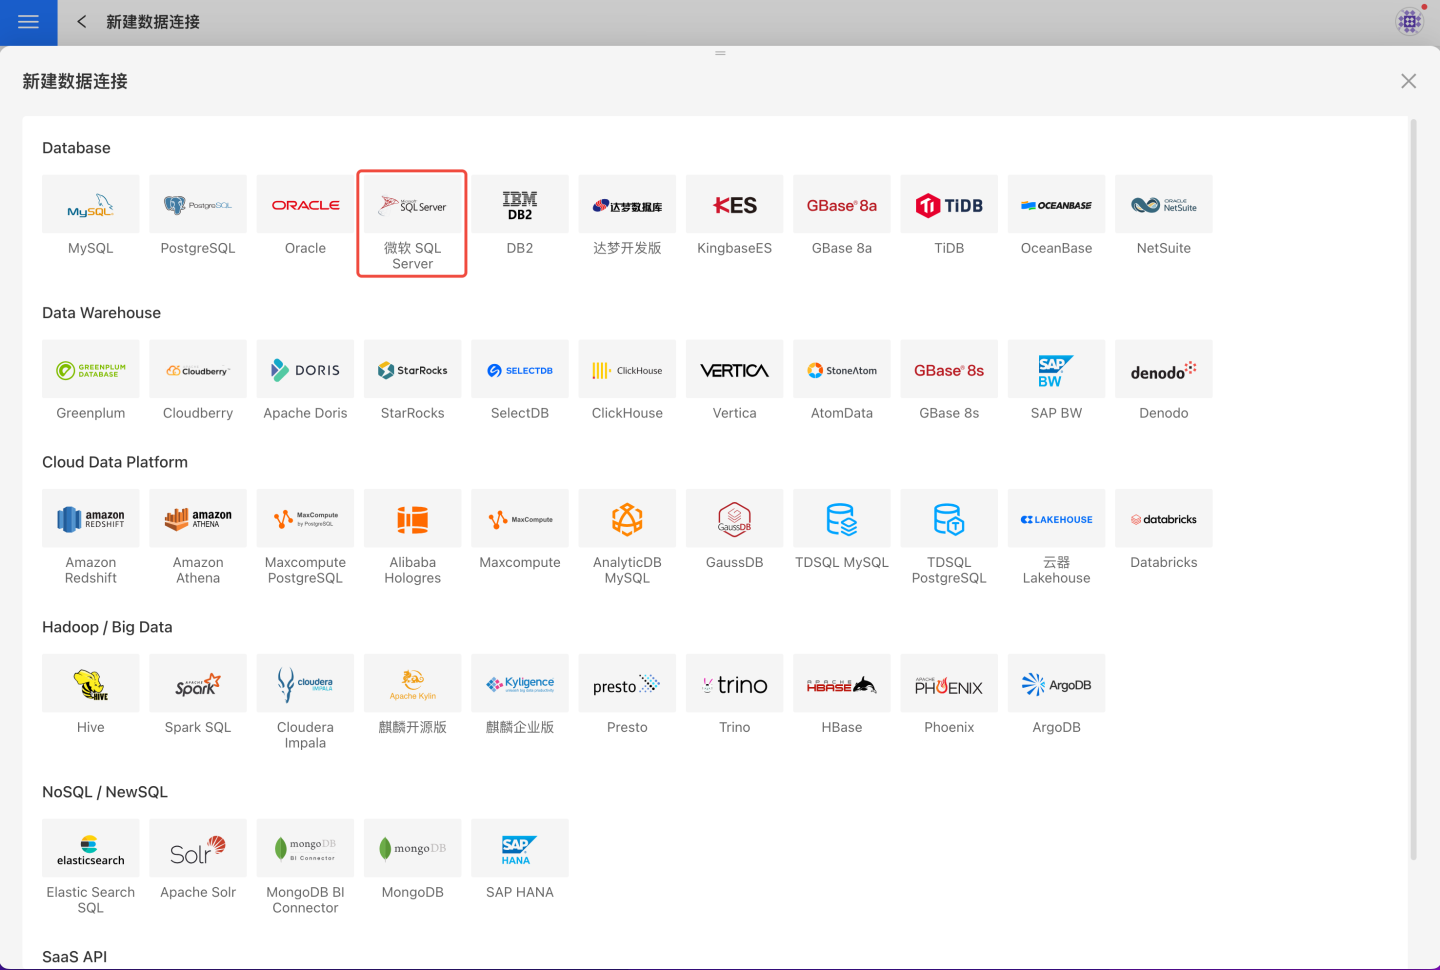
Select the SQL Server data source from the data source types.
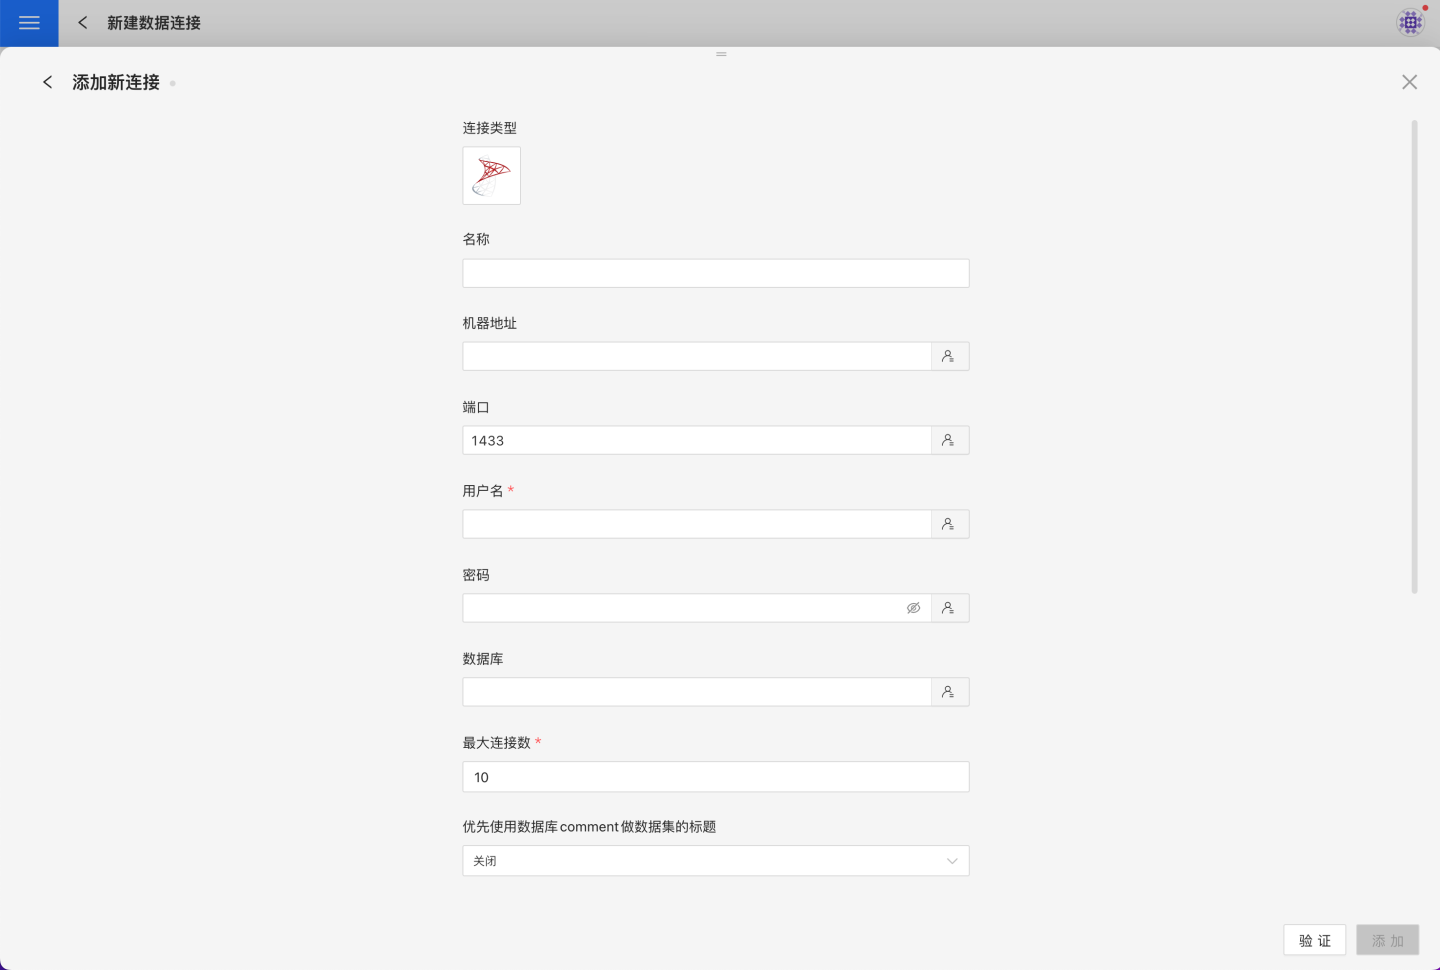
Fill in the required parameters for the data source connection as prompted.
Connection Configuration Information Description
Field Description Name The name of the connection. Required and unique within the user scope Host Address The address of the database. If the url field is filled in, the value in url will be used with higher priority Port The port of the database. If the url field is filled in, the value in url will be used with higher priority Username The username for the database Password The password for the database Database The name of the database Max Connections Maximum number of connections in the connection pool Prefer using database comment as dataset title Whether to display the table name or the table comment as the title URL The JDBC url of the database Transaction isolation level for read operations This setting only affects reading data; writing data still uses the default isolation level Hierarchical loading of schema and tables Default is off. When enabled, schemas and tables are loaded hierarchically. Only schemas are loaded during connection; you need to click the schema to load the tables under it Query timeout (seconds) Default is 600. For large data volumes, you can appropriately increase the timeout Allow write operations Indicates that this connection can be selected as an output connection in Data Integration and Batch Sync. You must have write permission to the database and pass verification before configuring this parameter. Support uploading files to specified path Indicates the database name where the generated table will be stored when creating a local file dataset. You must have write permission to the database and pass verification before configuring this parameter. Show only tables under specified database/schema When this option is selected and the database field is not empty, only tables under the specified db will be displayed After filling in the parameters, click the
Validatebutton to get the validation result (this checks the connectivity between HENGSHI SENSE and the configured data connection; you cannot add the connection if validation fails).After validation passes,
Allow write operationsandSupport uploading files to specified pathwill be enabled and can be optionally turned on.Click
Execute Preset Codeto pop up the preset code for this data source, then click the execute button.Click the
Addbutton to add the SQL Server connection.
Please note
- Parameters marked with * are required; others are optional.
- When connecting to a data source, you must execute the preset code. Failure to do so may result in certain functions being unavailable during data analysis. In addition, when upgrading from a version prior to 4.4 to 4.4, you need to execute the preset code for existing data connections in the system.
Supported SQL Server Versions
SQL Server 2016, SQL Server 2017, SQL Server 2025, etc.
Data Connection Preview Support
Supports regular table and view.
SQL Dataset Support for SQL
All SELECT-related features are supported, and the SELECT SQL statement must comply with the SQL Server syntax specification.
Unsupported Field Types
The following data types in SQL Server cannot be processed correctly:
- hierarchyid
- rowversion
- sql_variant
- xml
- geometry
- geography