Connecting to Phoenix
Connection Steps
Please follow the steps below to connect to the Phoenix data source.
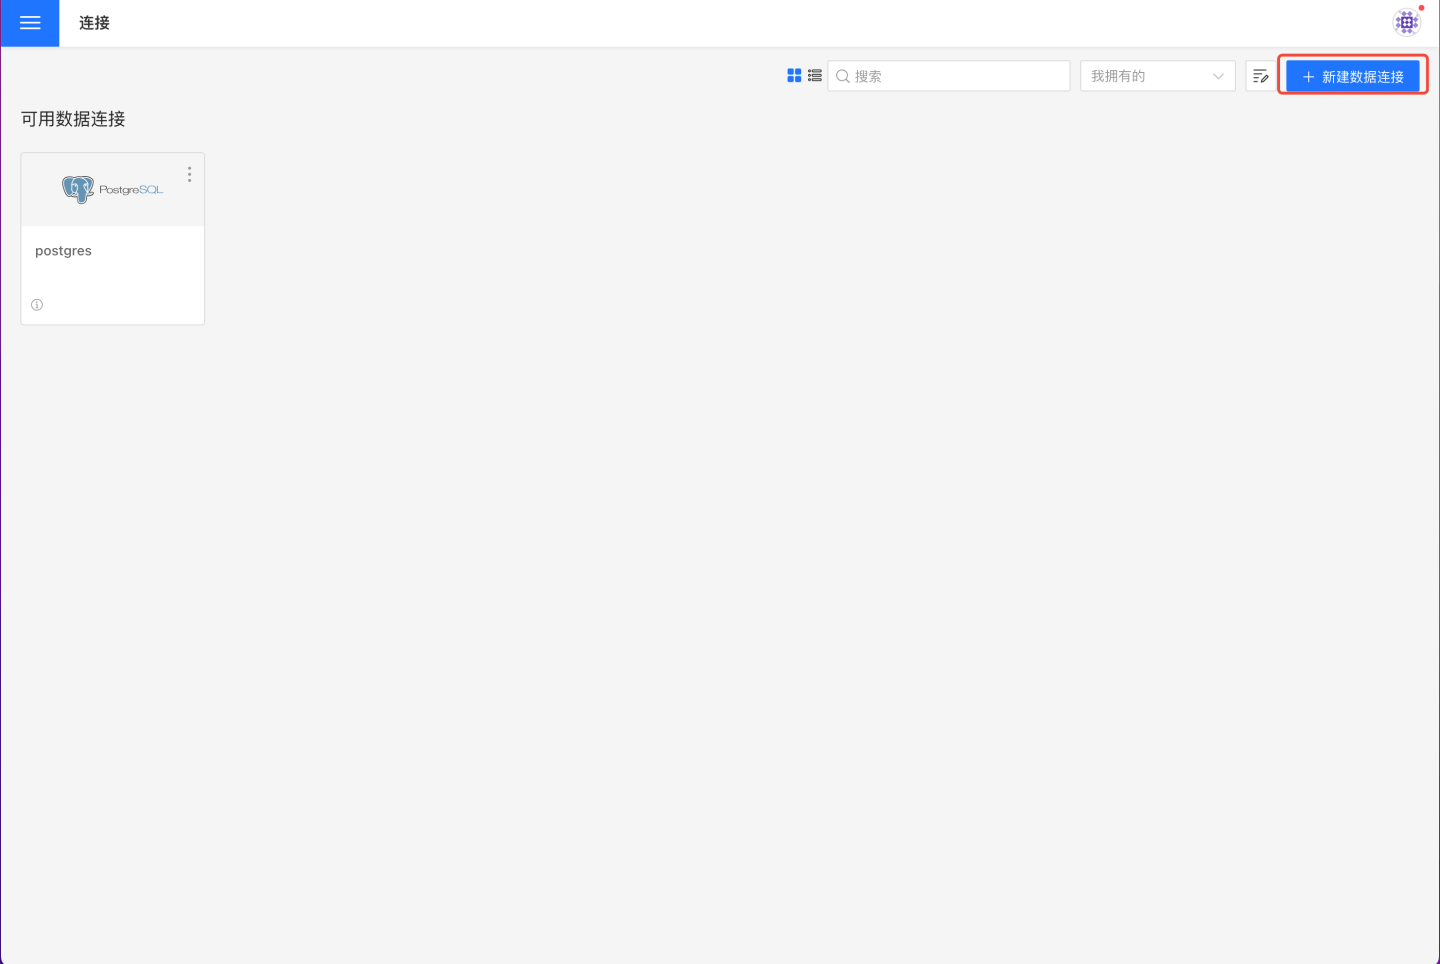
Click "New Data Connection" in the upper right corner of the data connection page.

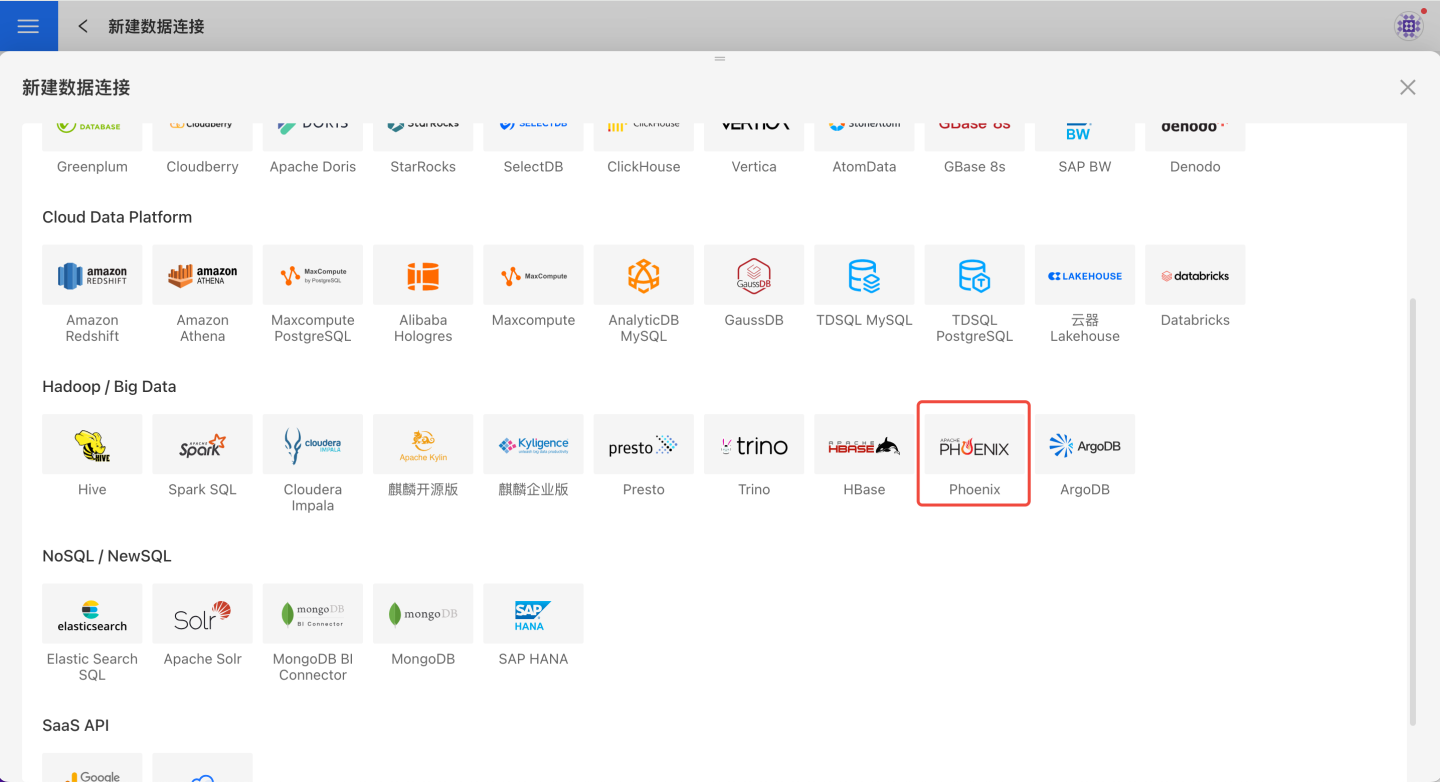
Select the
Phoenixdata source from the list of data source types.
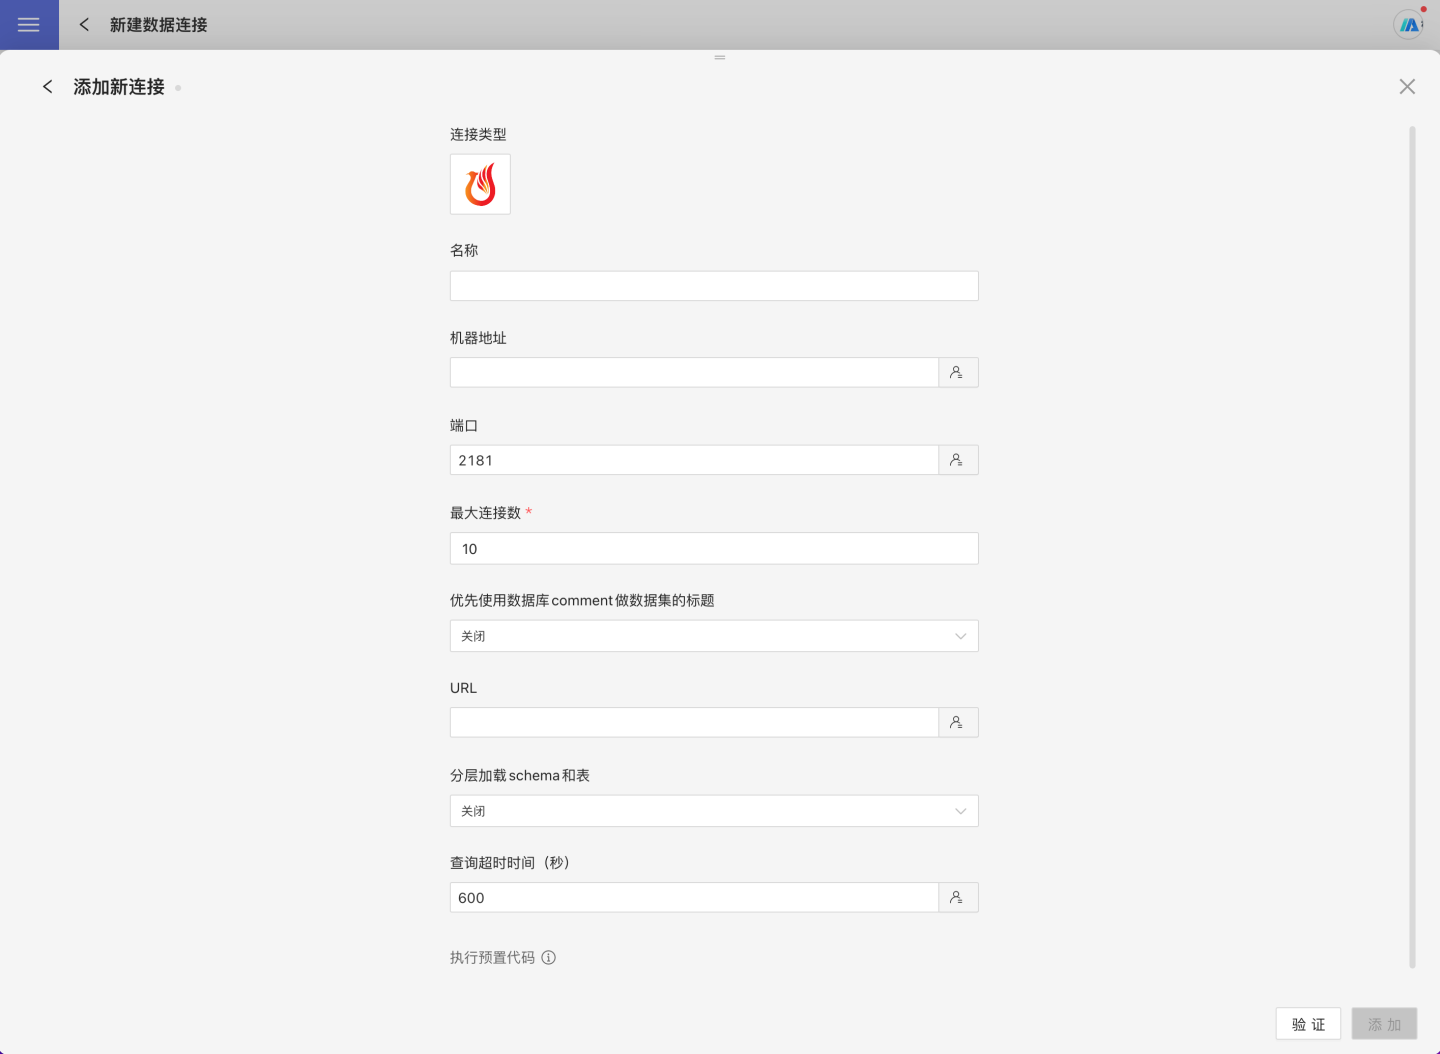
Fill in the required parameters for the data source connection as prompted.

Connection Configuration Information Description
Field Description Name The name of the connection. Required and unique within the user. Host Address The address of the database. If the URL field is filled in, the URL will take precedence. Port The port of the database. If the URL field is filled in, the URL will take precedence. Max Connections Maximum number of connections in the connection pool. Prefer using database comment as dataset title Choose whether to display the table name or the table comment as the title. When enabled, the title is displayed; when disabled, the table comment is displayed. URL Query Timeout (seconds) Default is 600. If the data volume is large, you can appropriately increase the timeout. After filling in the parameters, click the
Validatebutton to get the validation result (this checks the connectivity between HENGSHI SENSE and the configured data connection; you cannot add the connection if validation fails).After validation passes, click
Execute Preset Codeto pop up the preset code for this data source, then click the execute button.Click the
Addbutton to add thePhoenixconnection.
Please Note
- Parameters marked with * are required; other parameters are optional.
- When connecting to a data source, you must execute the preset code. Failure to do so may result in certain functions being unavailable during data analysis. In addition, when upgrading from a version prior to 4.4 to 4.4, you need to execute the preset code for existing data connections in the system.
Supported Phoenix Versions
5.0 and above