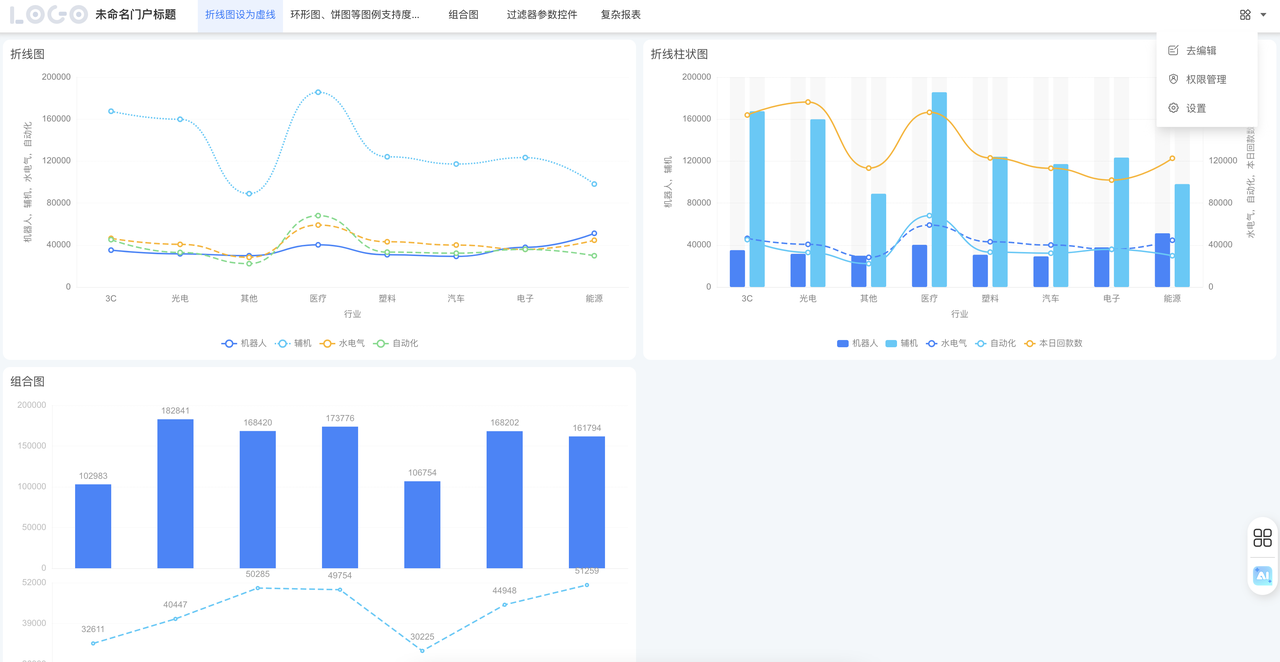
App Portal
The portal serves as the entry point for data Apps, offering a hierarchical way to organize them. In typical analytic Apps, Dashboards are used to present results; relationships among data are implied through drill-through or jump actions between Dashboards or between Charts and Dashboards. This approach is simple and intuitive for lightweight scenarios. When you need a more explicit and logical structure—so that a larger number of Dashboards and other pages can be accessed through a unified menu—use the App Portal.
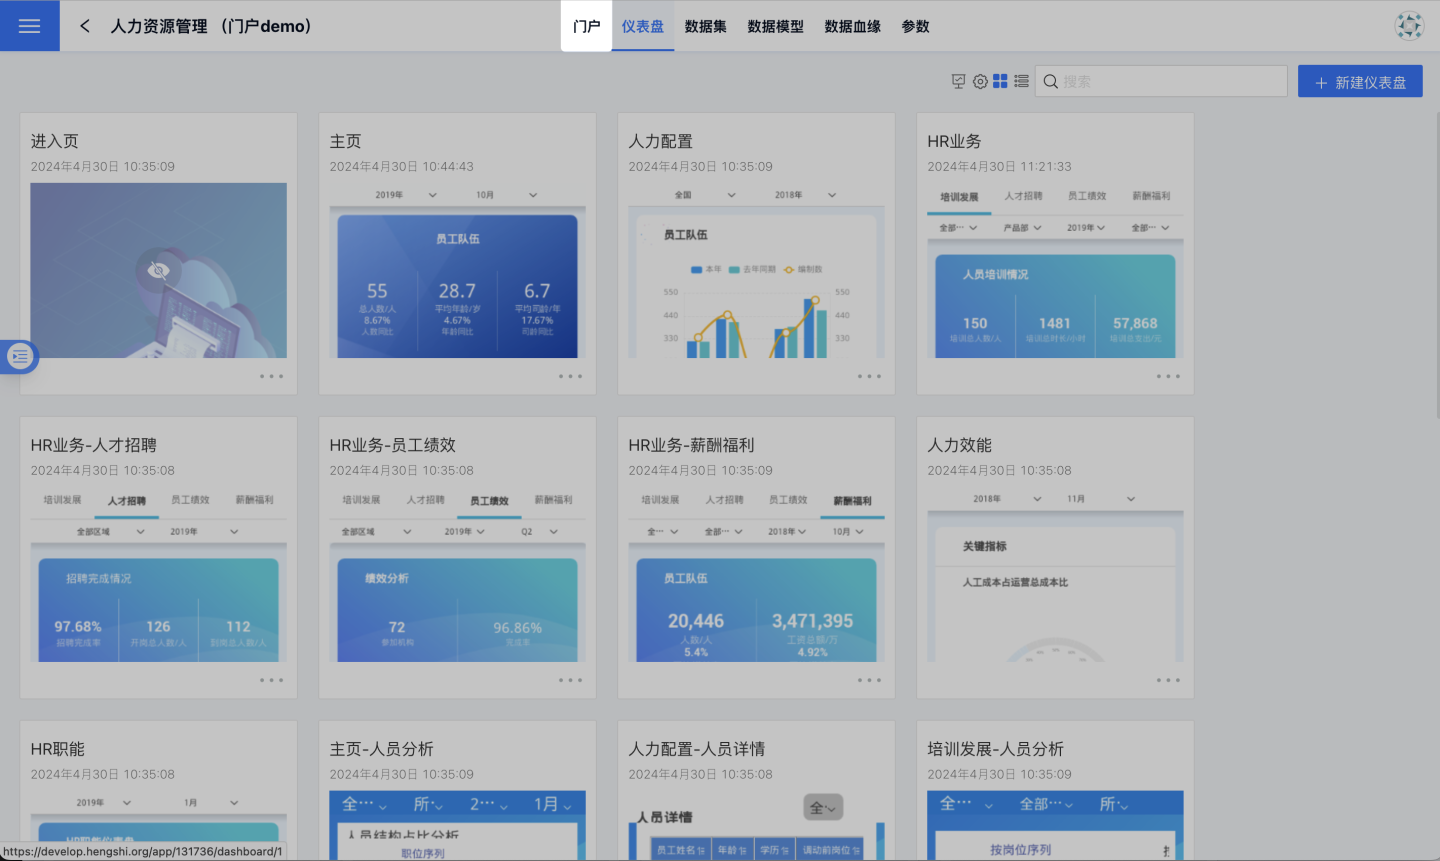
By default, the entry point of every App is its Dashboard. After the portal is enabled, the default entry becomes the portal page instead.
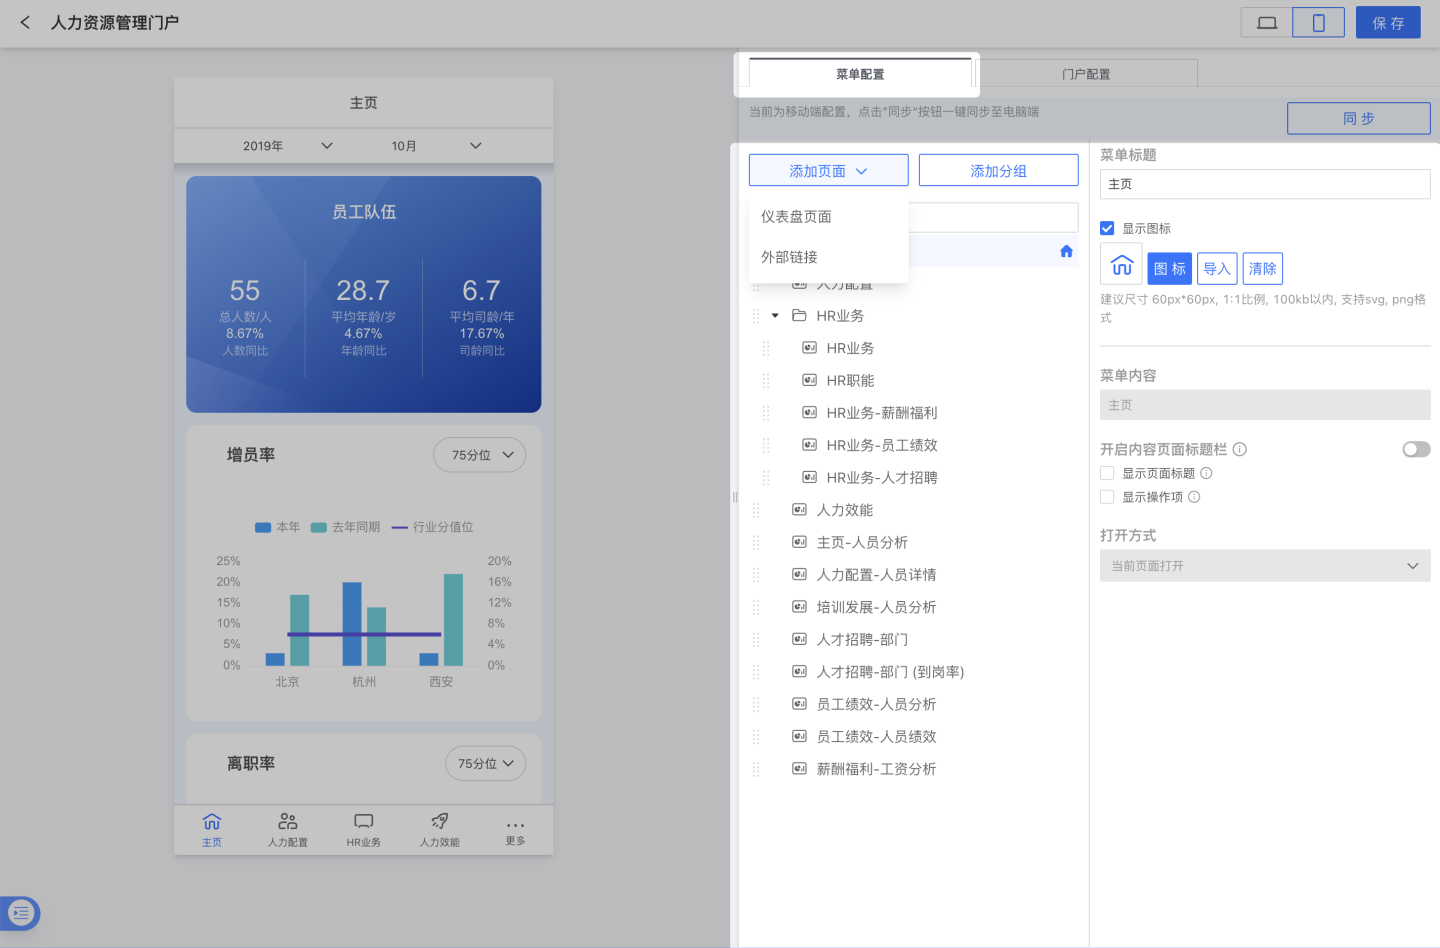
An App Portal consists of a set of menu configurations that can be 1 to N levels deep. At any level you can add any number of groups or pages. A page can be an internal Dashboard or an external URL. A group can contain other groups or pages, forming the portal’s menu hierarchy.
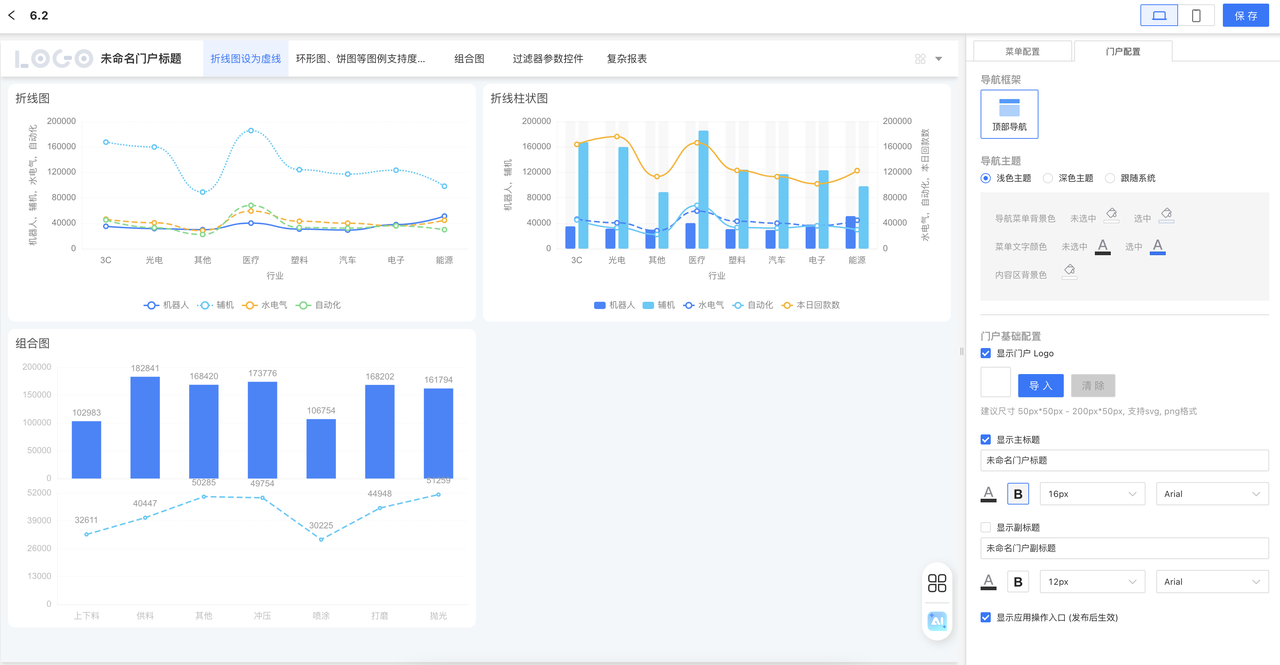
The App authoring area provides owners and editors with editing and preview capabilities for the portal, supporting separate configurations and previews for desktop and mobile views. When end-users open the App in the published App Gallery, they see the portal interface.
Enabling and Disabling Portal Features
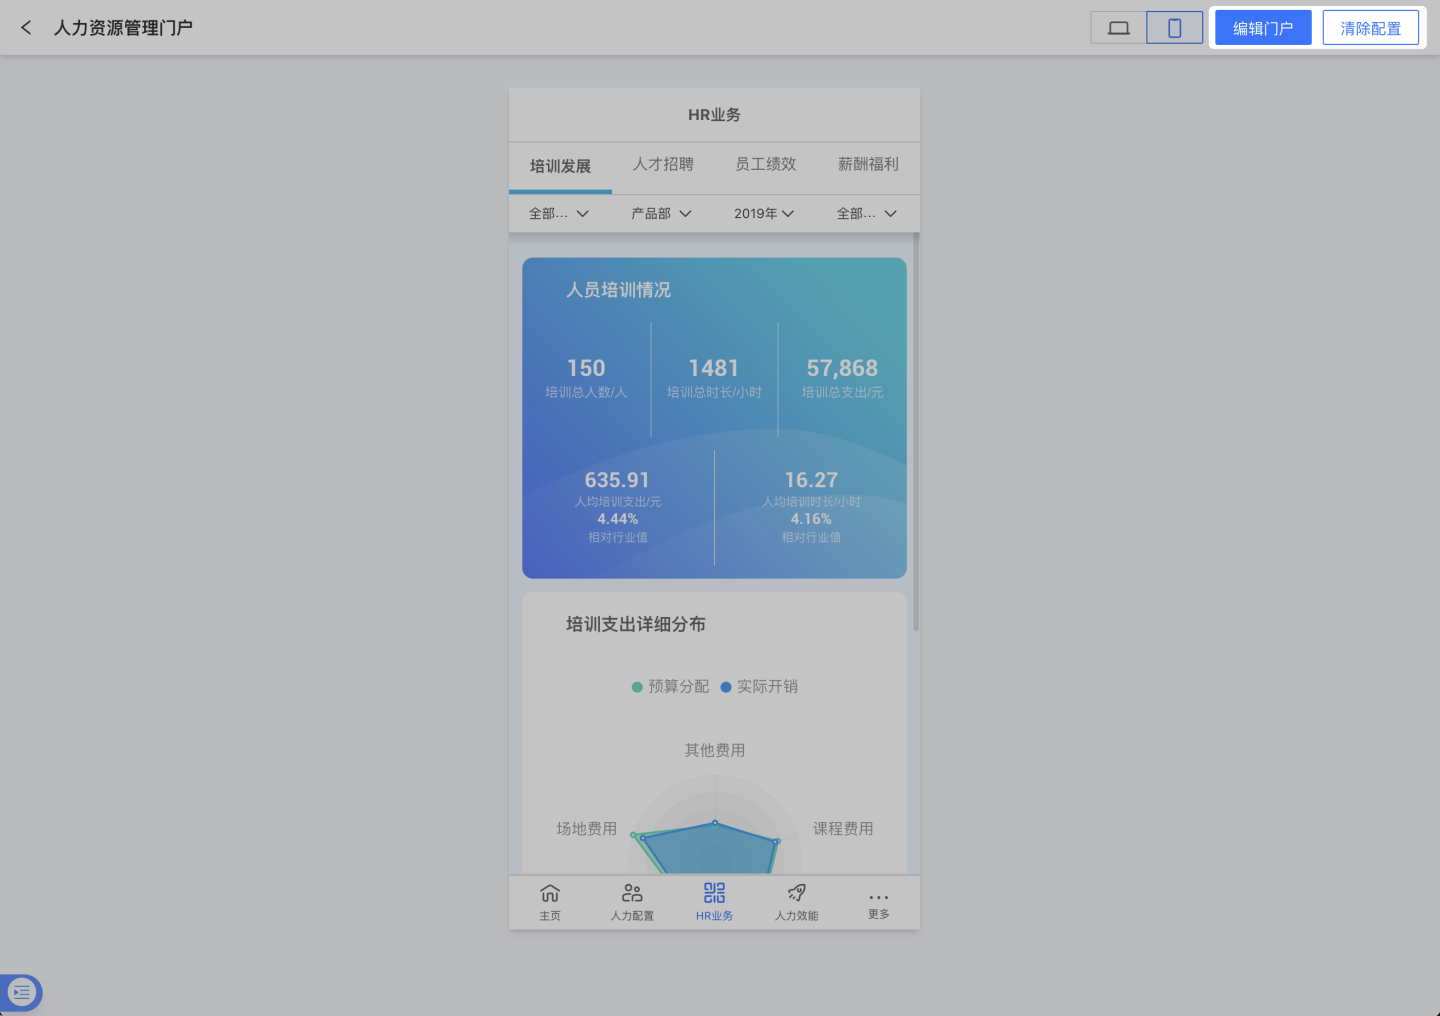
While editing an App, you will land on the Dashboard editing page by default. Next to the Dashboard tab is a Portal tab; click it to enter the Portal preview page, then click Edit Portal to open the Portal editing and settings page.
If an App no longer needs the Portal feature, go to the Portal settings page and click Clear Configuration. This removes all previously configured Portal layers. After clearing the Portal configuration, republish the App and, on the publish page, select “Dashboard View”; the Portal feature is now disabled and the App’s default entry point reverts to the Dashboard.
Portal Menu Configuration
The most important configuration item for a portal is its menu. Currently, you can add Groups and Pages to the menu. There are two types of Pages: Dashboards and External Links. A Dashboard must be visible within the current App and can only be added once.
Typically, Groups are used to define the menu hierarchy, and the final landing page is usually a Dashboard. Within the same Group, the order of items determines their display order in the menu. You can adjust the order by dragging the ≡ drag handle with your mouse; you can also drag an item into a Group to make it a sub-item of that Group.
Each menu item can have its own title and an accompanying icon. Icons can be chosen from the built-in icon library or uploaded as custom SVG or PNG images. SVG is recommended because it scales better across devices with different resolutions.
When a portal is opened in view mode, it navigates to the configured menu item within the same page by default. If this behavior is undesirable, you can set the opening method for each menu item to Open in New Window.
If a menu item points to a Dashboard within the App, you can configure the following display options for that Dashboard:
- Show page title
- Show page actions
If the menu item name already conveys the Dashboard name, you can disable Show page title to give more space to the Dashboard content. Hiding page actions removes menus for export, refresh, share, etc., on that single Dashboard, resulting in a more consistent and pure data-portal experience.
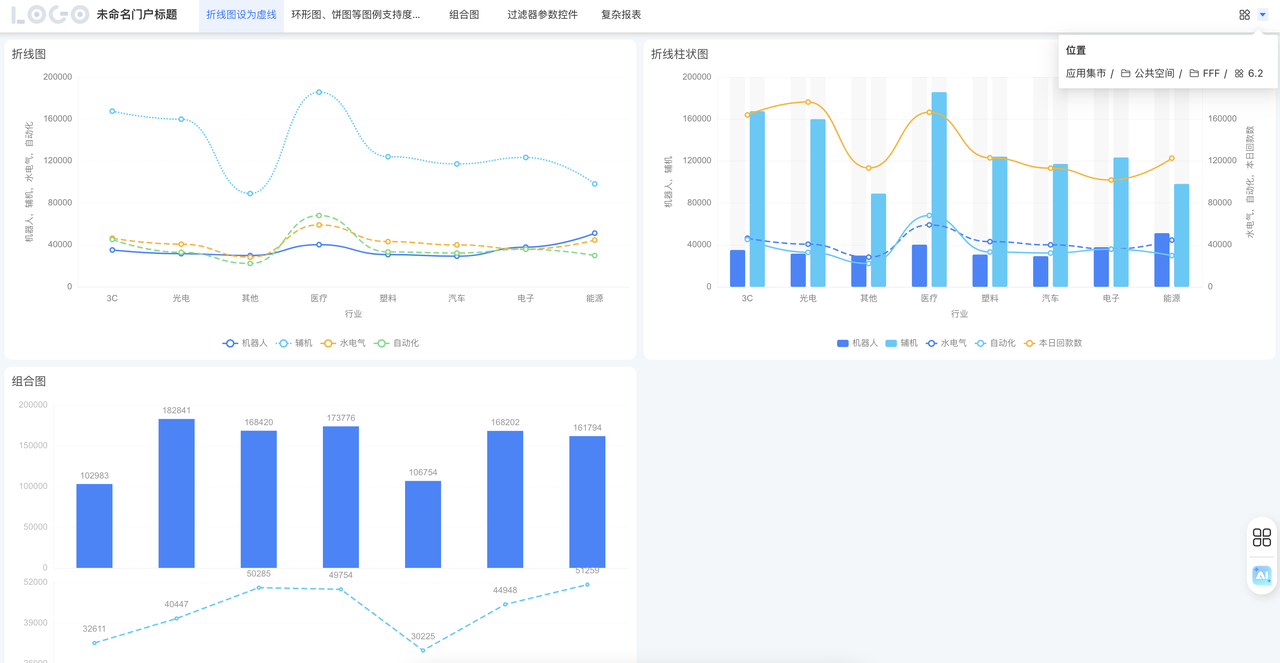
Version 6.2 Update
Portals now support displaying the breadcrumb path and frequently used App actions.
Configuration: Enable the [Show App Action Entry] option in the portal settings.
Prerequisites: The option is grayed out in edit mode and takes effect only after publishing.
Scope: Supported on PC; not supported on mobile.
Effect: The top bar of the portal clearly shows the breadcrumb path of the App and common actions.
PC and Mobile Portals
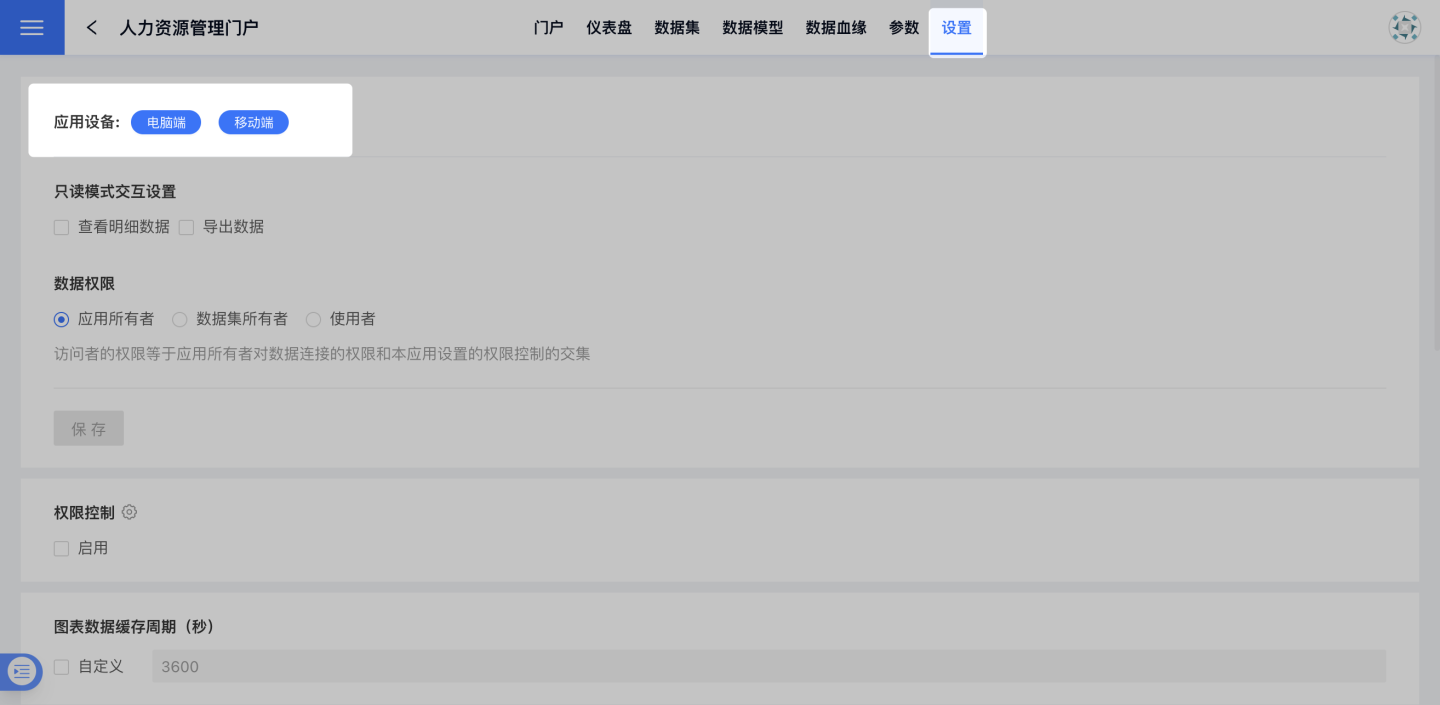
If your App supports mobile devices, you can configure the mobile portal; if it supports desktop, you can configure the desktop portal. When both are supported, you must set up each portal separately. Typically, you configure one side first, then use the quick-sync feature to push the mobile portal settings to the desktop side—or vice versa—with one click.
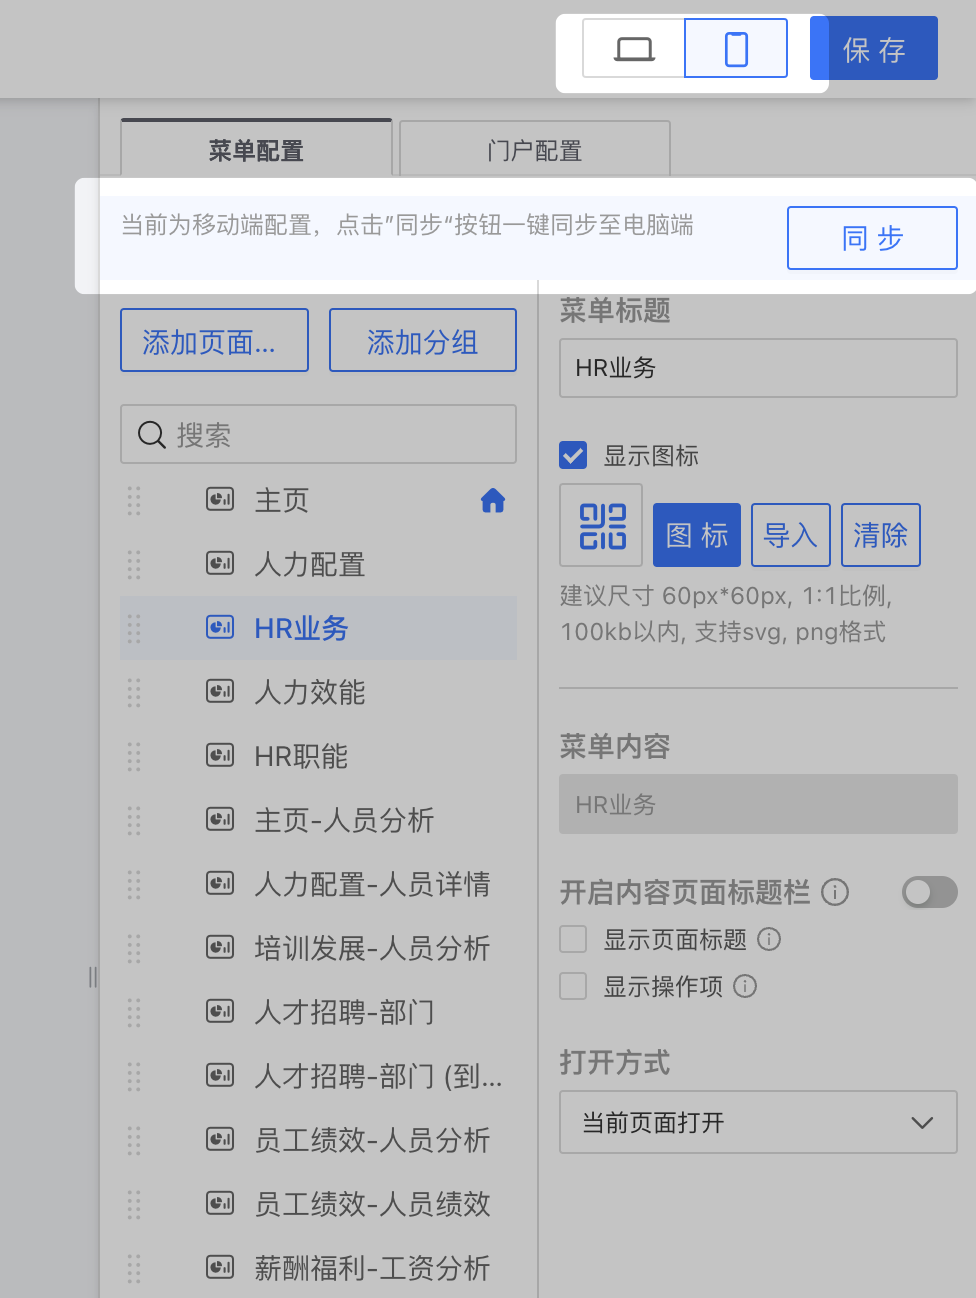
Note that, unless you perform an explicit sync, the desktop portal configuration and the mobile portal configuration remain independent and do not synchronize automatically. Whether the App supports desktop, mobile, or both can be specified under App Settings / App Devices.